
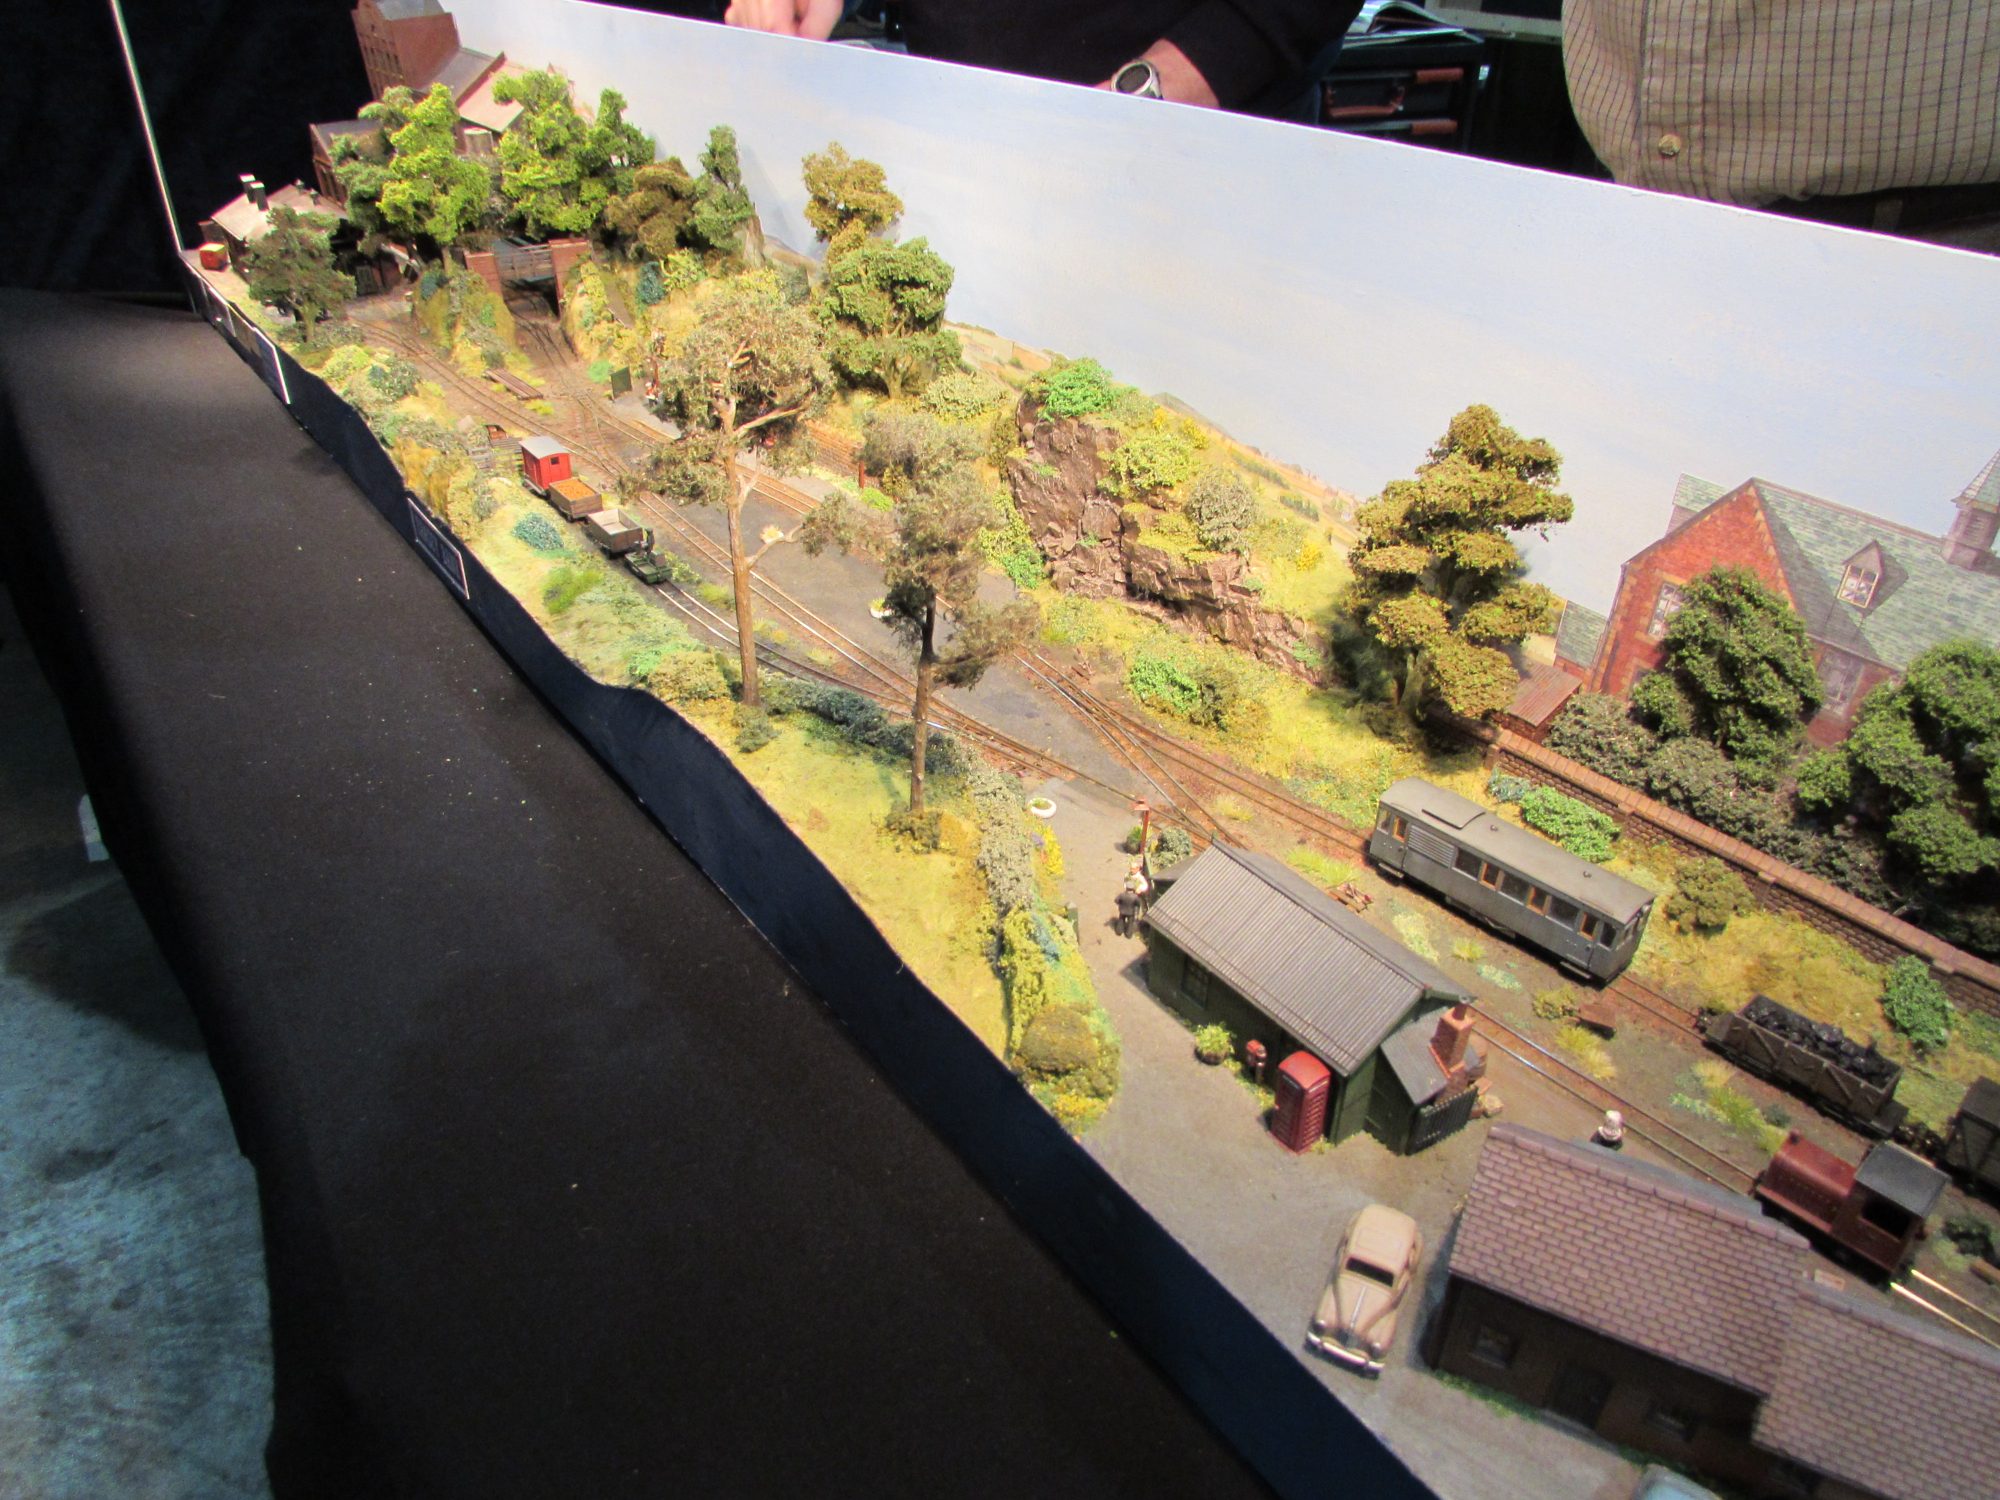
Peter A’s layout 1-3.JPG – Peter Ashby’s Talyllyn inspired layout, a 10’6″ by 3′ oval including a version of the Dolgoch viaduct. (photo © Peter Ashby)
Narrow Gauge Railway moddlers
Peter A’s layout 1-3.JPG – Peter Ashby’s Talyllyn inspired layout, a 10’6″ by 3′ oval including a version of the Dolgoch viaduct. (photo © Peter Ashby)